If you’ve ever tried to build a targeted email list by hand, you know it can take forever. Copying names, chasing down emails, cleaning your data. Web Public Scraper makes that whole grind fast and painless. Even if you’re a beginner, you can log in, set a few filters, and export clean results to CSV or Excel—ready for outreach.
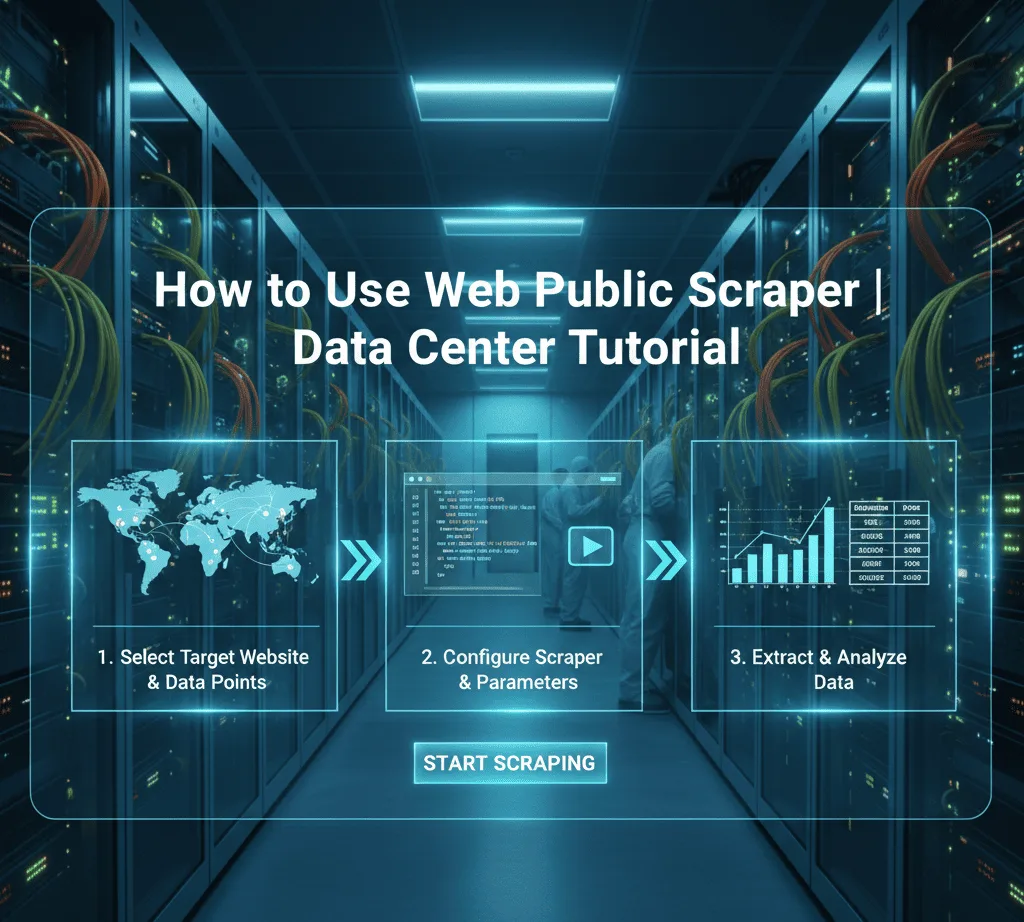
Below is a simple, step-by-step guide to using the Data Center so you can start collecting public data and building targeted lists in minutes.
Step 1: Log in and open the Data Center
After you log in, head straight to the Data Center. Think of it as your control room. Everything you need to search, filter, and export lives here. The layout is clean, the buttons are obvious, and you won’t get lost—even if this is your first time scraping.
Goal of this step: Reach the dashboard where you’ll choose your search approach and filters.
Step 2: Pick how you want to search
The Data Center gives you a few flexible ways to find what you need. Choose the one that matches your goal:
- Keyword Search: Great for industries or roles. Try “real estate agent,” “wedding planner,” or “digital marketing.”
- City & Job: Want local leads? Combine a job title with a city to get targeted results in a specific area.
- Phone Numbers: Need solid contact details? Pull down numbers tied to public profiles and listings.
You’re not locked in—use what fits the campaign you’re running.
Step 3: Add filters to sharpen your results
This is where your search gets smart. A few quick filters will save you credits and give you cleaner data:
- Keyword: Your main term (industry, job, niche).
- Country: Keep it focused on where you actually sell or operate.
- Record Limit: Control how many results you collect in one pull.
- Gender: Optional, but helpful for campaigns where it matters.
The more specific you are, the more relevant your list will be—and the less cleanup you’ll do later.
Step 4: Turn on “Active emails only”
Want fewer bounces and better reply rates? Toggle Active emails only. Each active email costs 2 credits, but you’ll pay for quality, not quantity. This filter helps you avoid dead or outdated inboxes and puts your message in front of people who are more likely to see it.
Why it’s worth it: You’ll spend less time troubleshooting deliverability and more time talking to real prospects.
Step 5: Start the search and export your list
Ready? Click Start Search. The scraper goes to work right away, collecting public data based on your setup. When it finishes, export your results to CSV or Excel in a couple of clicks.
- CSV: Perfect for uploading into most CRMs and email tools.
- Excel: Great for sorting, quick edits, and sharing with teammates.
Either way, you end up with structured, ready-to-use data—no copy-and-paste marathon required.
Why beginners love Web Public Scraper
- No tech skills needed: The UI is clean and intuitive. If you can fill out a form, you can use this tool.
- Fast results: Go from idea to list in minutes, not days.
- Targeted data: Filters keep your results tight, so you’re not wasting credits on noise.
- Scales with you: Works for solo creators, agencies, and teams alike.
If you’ve been stuck paying for generic lists—or spending late nights hunting for emails—this is the upgrade you’ve been waiting for.
Best practices for cleaner lists (and better replies)
- Start narrow, then expand: Begin with a small record limit to test quality. If it looks good, scale up.
- Use specific keywords: “Wedding photographer Chicago” beats “photographer.”
- Keep lists fresh: Run new searches as campaigns evolve. Fresh data = better deliverability.
- Segment on export: Create separate CSVs by city, role, or niche so your emails feel personal.
A little structure now saves a lot of editing later.
Public Scraper Ultimate and tools
If you’re ready to go beyond the basics, Public Scraper Ultimate is the powerhouse suite for serious data work. It includes specialized tools tuned for different sources and use cases—like a BBB Scraper for trusted business profiles, professional network scrapers for job titles and company data, and social tools for public profiles.
What makes it different? Depth and accuracy. Instead of pulling surface-level info, these tools aim to extract richer, verified details—emails, phone numbers, business metadata, and more—so your lists aren’t just long, they’re useful. Whether you’re building a local B2B list, targeting a niche industry, or enriching existing contacts, Public Scraper Ultimate helps you assemble high-value data that’s actually ready for outreach.
Quick recap (so you can hit the ground running)
- Log in → Data Center.
- Choose your search style: keyword, city & job, or phone numbers.
- Apply filters: keyword, country, record limit, gender.
- Turn on Active emails only (2 credits/record).
- Run the search and export to CSV or Excel.
That’s it. Simple, clean, and designed to help you build targeted email lists quickly and confidently—without manual scraping or messy spreadsheets.
Final thoughts
Web Public Scraper cuts the busywork from lead generation. With the Data Center, you can design a focused search, capture active contact data, and export a clean, organized list in just a few clicks. If you need even more muscle and niche coverage, Public Scraper Ultimate adds specialized tools that go deeper and deliver richer insights.
Ready to try it? Start small, test your filters, and watch how much faster your outreach comes together when your data is already on point.